 First of all, you should know that I did not pick up the shotguns today. There’s some additional paperwork that I needed, so hopefully that will be taken care of tomorrow. Meanwhile, here’s some of the dog activity. I’m actually farther along than this but I forgot to take pictures.
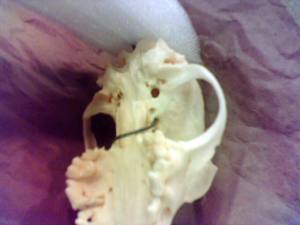
What you are looking at here is the bottom of the dog’s skull, minus the lower jaw. I’ve run a steel cable in through the hole where the spinal cord goes. Convienently, there are holes from the brain case down into the upper palette which I threaded the cable through and the looped it back to attach it to itself. This will hold the whole thing securely together but also allow flexible movement.
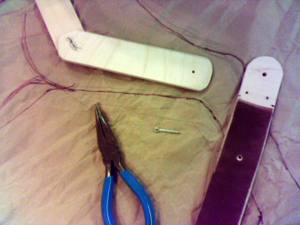
 Since this really just has to flop in the way a real dog would, I don’t have to worry too much about getting the balance right for manipulation. I’m doing ultra simple construction for the legs. These are just flat pieces of airplane ply held together by cotter pins. I’ll put stops on them to keep them from hyper-extending and also use the foam itself as a sort of muscle to control their direction of movement.
At the hip, I have a rudimentary pelvis and have attached the legs to the hips with tieline. They hang nicely but I totally forgot to take a photo.
Part of why I’m being bad with photos is because I’ve already built one wounded dog, so I’m figuring this isn’t covering any new ground for you. On the other hand, I am building the legs differently this time. PLUS the covering of this dog will be such a pain that I will document it in full.

I am fascinated! Thanks for documenting something I didn’t even know I was interested in.
I intend to blog it when you’re done – it *is* fascinating.
I’m glad you’re enjoying it. It’s easy to forget that what is a normal day of work for me, is an oddity to someone else.